Cleithe - HUGO Theme
Cleite - Hugo Theme
Cleite is a simple, fast and responsive theme for Hugo with a strong focus on accessibility built on top of the, now archived, Terrassa theme.
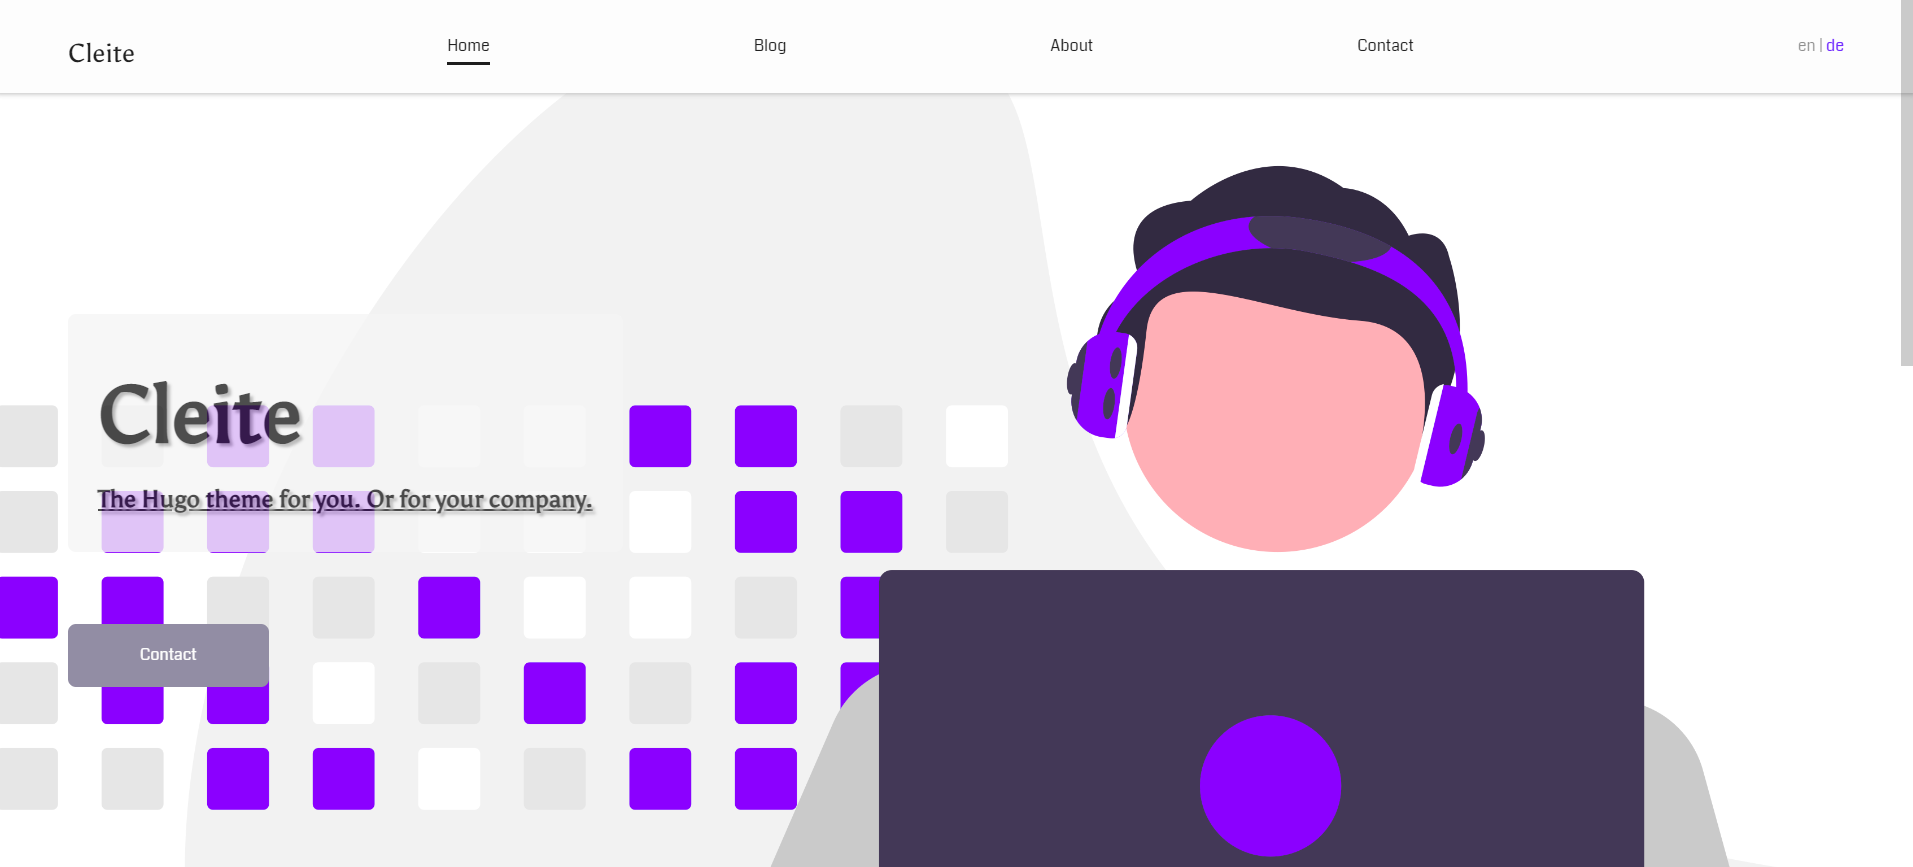
Cleite is the Irish word for ‘feather’ symbolizing it’s light weight nature.
Cleite is pronounced CLEH-CHA
Availability
Cleite is available via my Github repository
Features
- Coherent responsive design.
- Consistent design throughout the entire site.
- Classic navigation menu in large screen sizes.
- Hamburger menu in mobile devices.
- Focus on accessibility.
- Customizable call to action on the home page.
- Contact form.
- Ready for blogging.
- Cover image support.
- Table of contents support.
- Gravatar support.
- RSS support.
- Multilingual Support.
Installation
To install Cleite run the followings command inside your Hugo site:
$ mkdir themes
$ cd themes
$ git clone https://github.com/alandoyle/hugo-cleite-theme.git cleite
Or
$ mkdir themes
$ cd themes
$ git submodule add https://github.com/alandoyle/hugo-cleite-theme.git cleite
You can also download the last release here.
Back to your Hugo site directory open the config.toml file and add or change the following line:
theme = "cleite"
Configuration
You can find an example of the final configuration here.
Basic
baseurl = "/"           # The base URL of your Hugo site
title = "titlehere"     # The title of your Hugo site
googleAnalytics = ""    # Your Google Analytics tracking ID
enableRobotsTXT = true
language = "en"
paginate = 5            # The numbers of posts per page
theme = "cleite"        # Your Hugo theme
There’s a lot more information about the basic configuration of an Hugo site here.
Description, favicon and logo params
[params]
    author = ""       # The default author name, if an author is not specified
                      # in the front matter of an individual post.
    email = ""        # The default email address, if an email address is not
                      # specified in the front matter of an individual post.
    description = ""  # Description for the meta description tag
    favicon = ""      # Relative URL for your favicon
    logo = ""         # Absolute URL for your logo
    custom_css = [""] # Array of custom CSS files
    faicon = ""       # Default FontAwesome class for displaying beside a Title e.g. "fa-solid fa-circle-info"
Separators between sections on the home page and top menu
[params.separator]
    show = true
Show the RSS feed in the menu bar
[params.blog_rss]
    show = true
Hero
[params.hero]
    textColor = "" # Empty for default color
Call To Action
[params.cta] # Call To Action
    show = true
    cta = "Contact"  # Text message of the CTA
    link = "contact" # Relative URL
Contact information
[params.contact]
    email = ""
    phone = ""
    skype = ""
    address = ""
Social Networks
[params.social]
    twitter = ""
    facebook = ""
    github = ""
    gitlab = ""
    codepen = ""
    instagram = ""
    pinterest = ""
    youtube = ""
    linkedin = ""
    weibo = ""
    mastodon = ""
    tumblr = ""
    flickr = ""
    steam = ""
    "500px" = ""
Icons for social networks depend on Font Awesome.
Font Awesome
[params.fa]
    version = ""    # Font Awesome version
    integrity = ""  # Font Awesome integrity for the Font Awesome script
Copyright message
[params.copy]
    copy = ""
<NOW> in the copyright message will be replaced with this year.
<TITLE> in the copyright message will be replaced with the site title ($.Site.Title)
e.g.
[params.copy]
    copy = "2008-<NOW> - <TITLE>"
This will output © 2008-2023 - Site Title
Posts
[params.posts]
    showAuthor = true
    showDate = true
    showTags = true
Form
[params.form]
    netlify = false # Only if you are using Netlify
    action = ""
    method = ""
    inputNameName = ""
    inputNameLabel = ""
    inputNamePlaceholder = ""
    inputEmailName = ""
    inputEmailLabel = ""
    inputEmailPlaceholder = ""
    inputMsgName = ""
    inputMsgLabel = ""
    inputMsgLength = 750
    inputSubmitValue = ""
Privacy
[privacy]
    [privacy.googleAnalytics]
        anonymizeIP = true
        disable = false
        respectDoNotTrack = true
        useSessionStorage = false
    [privacy.instagram]
        disable = false
        simple = false
    [privacy.twitter]
        disable = false
        enableDNT = true
        simple = false
    [privacy.vimeo]
        disable = false
        simple = false
    [privacy.youtube]
        disable = false
        privacyEnhanced = true
To learn more about privacy configuration check the official documentation.
Custom CSS
To add custom CSS you have to create a folder called static in the root of your project. Then, create another folder called css inside assets. And finally, a file called custom.css inside css with your styles.
$ mkdir -p ./static/css/
Archetypes
Cleite includes three base archetypes:
- default: for content such as blogs posts.
- section: for the sections on your Home page.
- page: for pages like the About page.
So be careful. Creating a new site with Hugo also creates a default archetype that replaces the one provided by Cleite.
Home and Single pages
To create your home page run the following command inside your Hugo site:
$ hugo new _index.md -k page
Or to create another page:
$ hugo new example.md -k page
You’ll get something like this:
---
title: ""
description: ""
images: []
draft: true
menu: main
weight: 0
cover:
    image: "/images/cover_image.jpg"
    alt: "Image Description"
    halfSize: true
    hidden: true
---
Some properties are used as follows:
- title: is the name that will be displayed in the menu. In the rest of the single pages the main title of the content.
- description: in the case of the home page the description is not shown. In the rest of the single pages it is shown as a subtitle.
- images: in the case of the home page the first image is used as the background image for the hero and to share on social networks (with Twitter Cards and Facebook Graph). In every other page or post is used only for share on social networks.
- weight: sets the order of the items in the menu. The cover section defines a Cover Image for the page.
Sections
To create a new section in your Home page follow the next steps:
$ hugo new sections/example.md -k section
You’ll come across something like this:
---
title: "Example"
description: ""
draft: true
weight: 0
subsection: ""
sectionurl: ""
faicon: ""
---
The title is used as the title of your new section and the content is the body. At this moment the description is not used for anything.
The weight defines the order in case of having more than one section.
The subsection is used to determine which page is going to use this particular section.
The sectionUrl is used for the list page to link to the Project Page if the subsection is “projects”.
The faicon is the Font Awesome CSS icon, e.g fab fa-windows or fas fa-gamepad
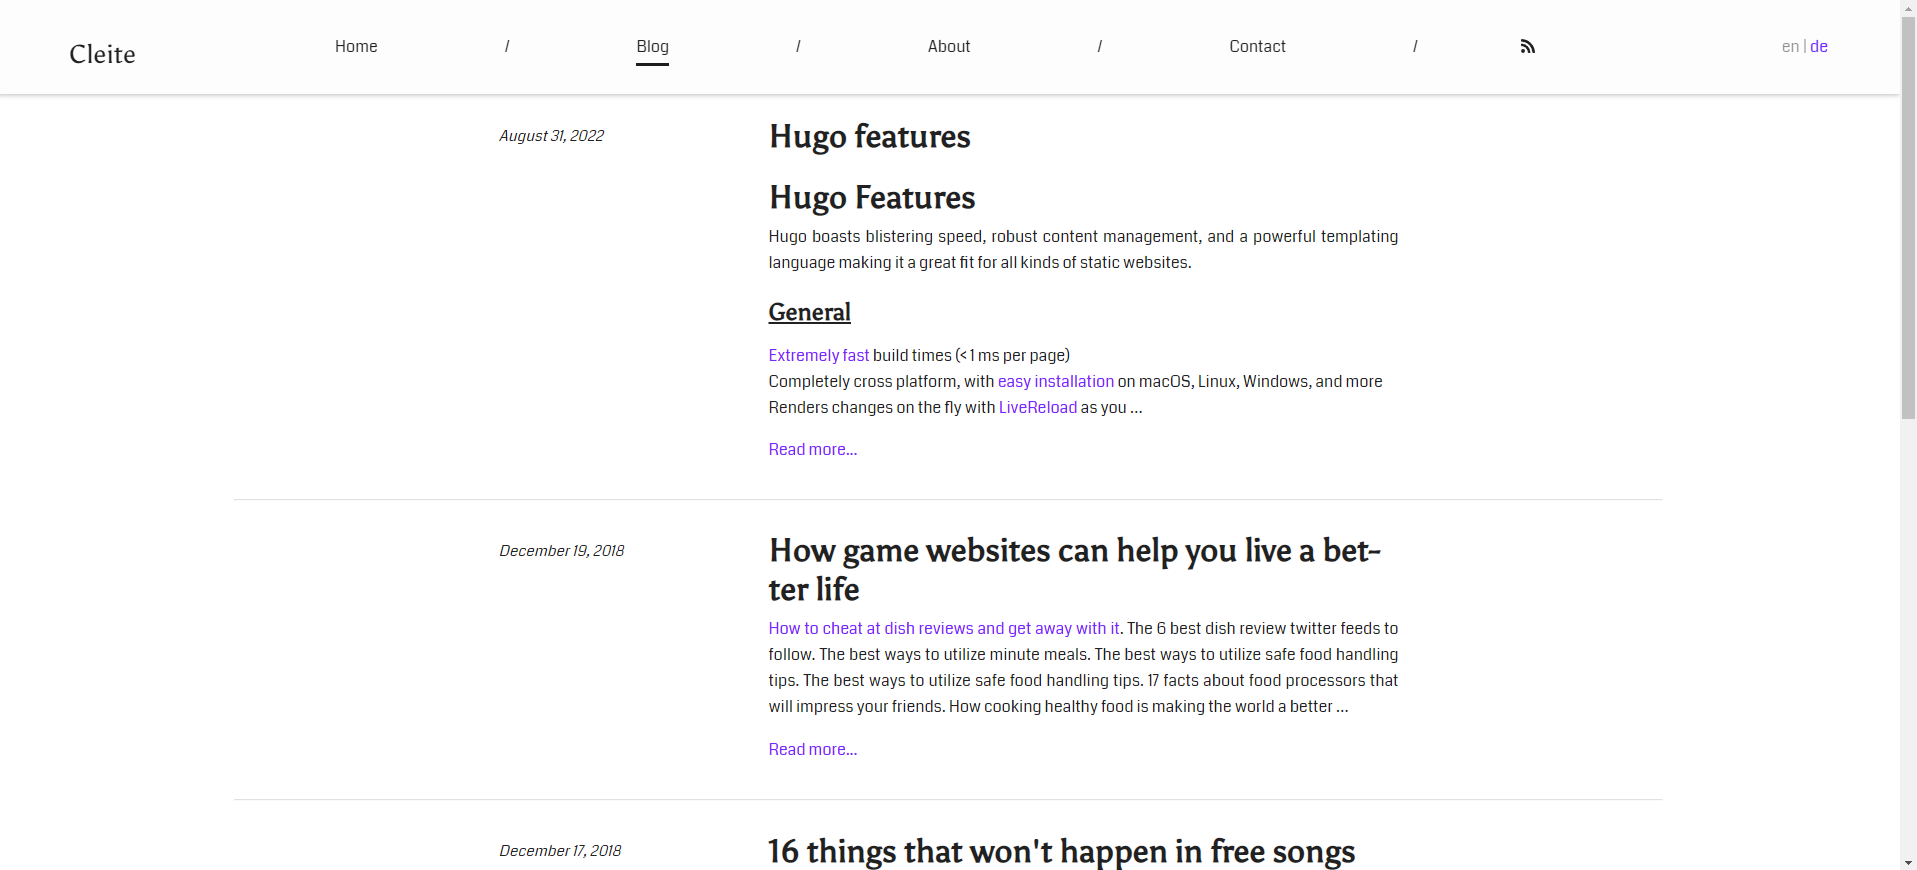
Blog or List pages
To create a Blog or a page with a similar structure follow these steps:
$ hugo new posts/_index.md -k page
In this case it is only necessary to set, if wanted, the title and the weight in the _index.md.
To add a new posts run the following command:
$ hugo new posts/bad-example.md
Inside this file you’ll find something like this:
---
title: "Bad example"
description: ""
author: ""
date: 2018-12-27T21:09:45+01:00
publishDate: 2018-12-27T21:09:45+01:00
images: []
draft: true
tags: []
showToc: true
cover:
    image: "/images/cover_image.jpg"
    alt: "Image Description"
    relative: false
    hidden: true
---
The title and description are used as the main title and subtitle respectively.
You can find more information about the basic parameters in the official documentation.
The showToc is used to generate a Table of Contents from all h1 and h2 tags
The cover section defines a Cover Image for the post.
Then, the corresponding section will show a list of cards with the title, the date, a summary of the content (truncated to 480 words) and a list of tags if any.
Contact
For the contact page follow these instructions:
$ hugo new contact/_index.md -k page
The title and description will be used as the main title and subtitle respectively with a contact form. The rest of the options are defined in the config.toml.
Multilingual Support
If your site is multilingual, add each language to your config.toml parameters with the following structure:
[languages]
    [languages.en]
        languageName = "en"
        weight = 1
        contentDir = "content/en"
      [languages.de]
        languageName = "de"
        weight = 2
        contentDir = "content/de"
      [languages.fr]
        languageName = "fr"
        weight = 3
        contentDir = "content/fr"
The theme assumes you have one default language, defined in config.toml as defaultContentLanguage. These pages will be at root of the URL, while the other languages will be in their own subdirectory.
You can overwrite all Site parameters in config.url by adding them to the respective language, for example:
[languages.de]
  languageName = "de"
  weight = 2
  contentDir = "content/de"
  title = "Das ist der deutsche Titel"
  description = "Das ist die deutsche Beschreibung"
For translating the contact form, add these parameters:
[languages.de.params]
  [languages.de.params.form] # Translate contact form fields
    inputNameLabel = "Name"
    inputNamePlaceholder = "Dein Name"
    inputEmailLabel = "E-mail"
    inputEmailPlaceholder = "Deine E-Mail-Adresse"
    inputMsgLabel = "Schreib etwas"
    inputSubmitValue = "Abschicken"
    [languages.de.params.cta] # Translate Call To Action
        show = true
        cta = "Kontakt"
        link = "de/kontakt/" # Relative URL
Activate the language switcher in the header by setting:
[params.languageSwitcher]
    show = true
Read more about Hugo’s Multilingual mode here: https://gohugo.io/content-management/multilingual/
