Setup Contact Page Using HeroTofu

Having tried a number of different methods of receiving details via a Contact form I’ve settled on using HeroTofu
I am currently using their Free tier which limits the number of submissions to 100 per month (plenty for a tiny site like this) but actually includes a couple of really neat features.
-
Built-in Captcha to reduce spam or you can add your own Recaptcha secret key if you’d prefer to use Recaptcha instead. This can also be setup to only trigger on suspicious submissions, all submissions or never!
-
A custom “Thank you” page URL can be configures thus making the whole process seamless and keeps users on your site after they submitted so Contact info.

Setup
Setting up a new HeroTofu account and creating a Contact Form is really simple.
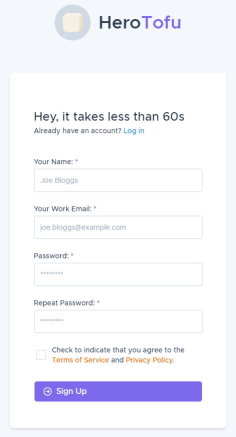
Create Account
Head over to the HeroTofu website and create an account. You’ll get 14 free days of the free trial which will become a free forever plan when it expires if you don’t pay for a subscription. For the sole purpose of my contact form, this is more than enough.

Your HeroTofu account will be On-Hold until you confirm your email address.
Create New Form
Login and select Forms from the lefthand panel, then click the + New Form button.

The form is comprised of 3 sections.
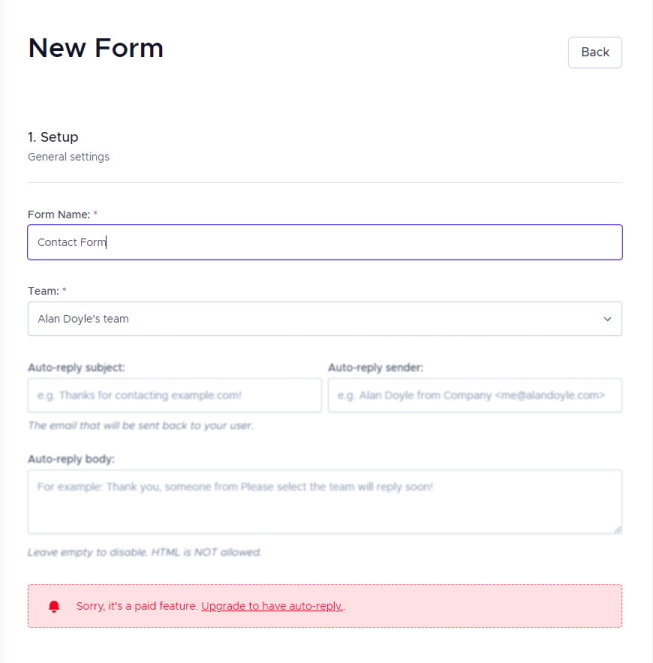
Setup
Fill in the Form Name and scroll down to the 2nd section.

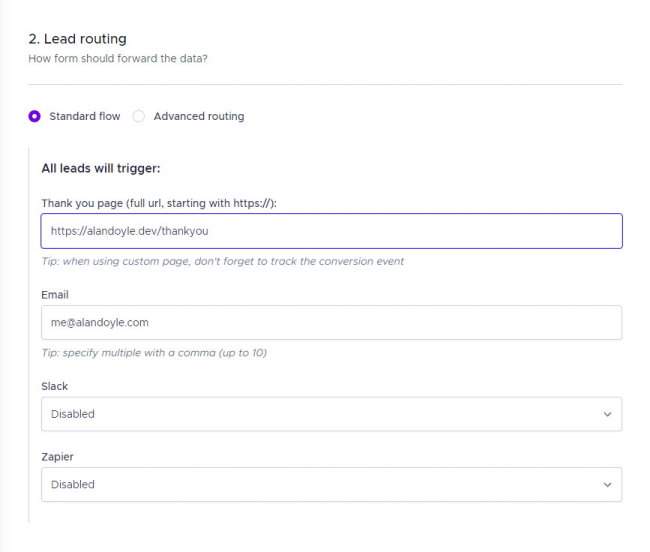
Lead Routing
Here you should fill in a URL on your website which HeroTofu will redirect to when a Contact Form has been submitted.
Also fill in an email address to receive notifications when a new Contact Form submission has been received.

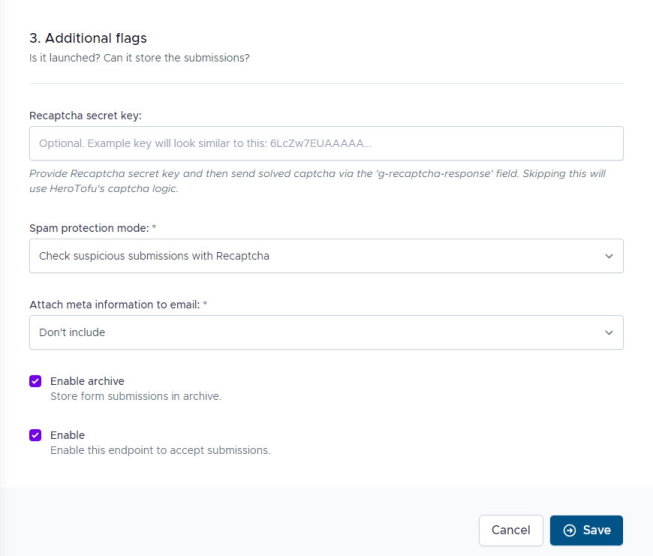
Additional Flags
Here you can provide a Recaptcha secret key or confiure the built-in Captcha system.

Click Save to create the form.
Configuring Cleite theme
Going back to the Forms yu will see a new Form exists.

Edit the config.toml and use the URL displayed.
[params.form] # Contact form
    netlify = false
    action = "https://public.herotofu.com/v1/06bc0820-7236-11ed-90d2-f5e5b36b68af"
    method = "POST"
    inputNameName = "name"
    inputNameLabel = "Name"
    inputNamePlaceholder = "Your name"
    inputEmailName = "email"
    inputEmailLabel = "Email"
    inputEmailPlaceholder = "Your email"
    inputMsgName = "message"
    inputMsgLabel = "Write something"
    inputMsgLength = 750
    inputSubmitValue = "Send"
Conclusion
That’s it. An incredibly simple process which took less than 5 minutes to implement. If your Hugo theme doesn’t include a built-in Contact Form like Cleite then HeroTofu have some additional information available on their website.
Written by Alan Doyle
November 30, 2022.